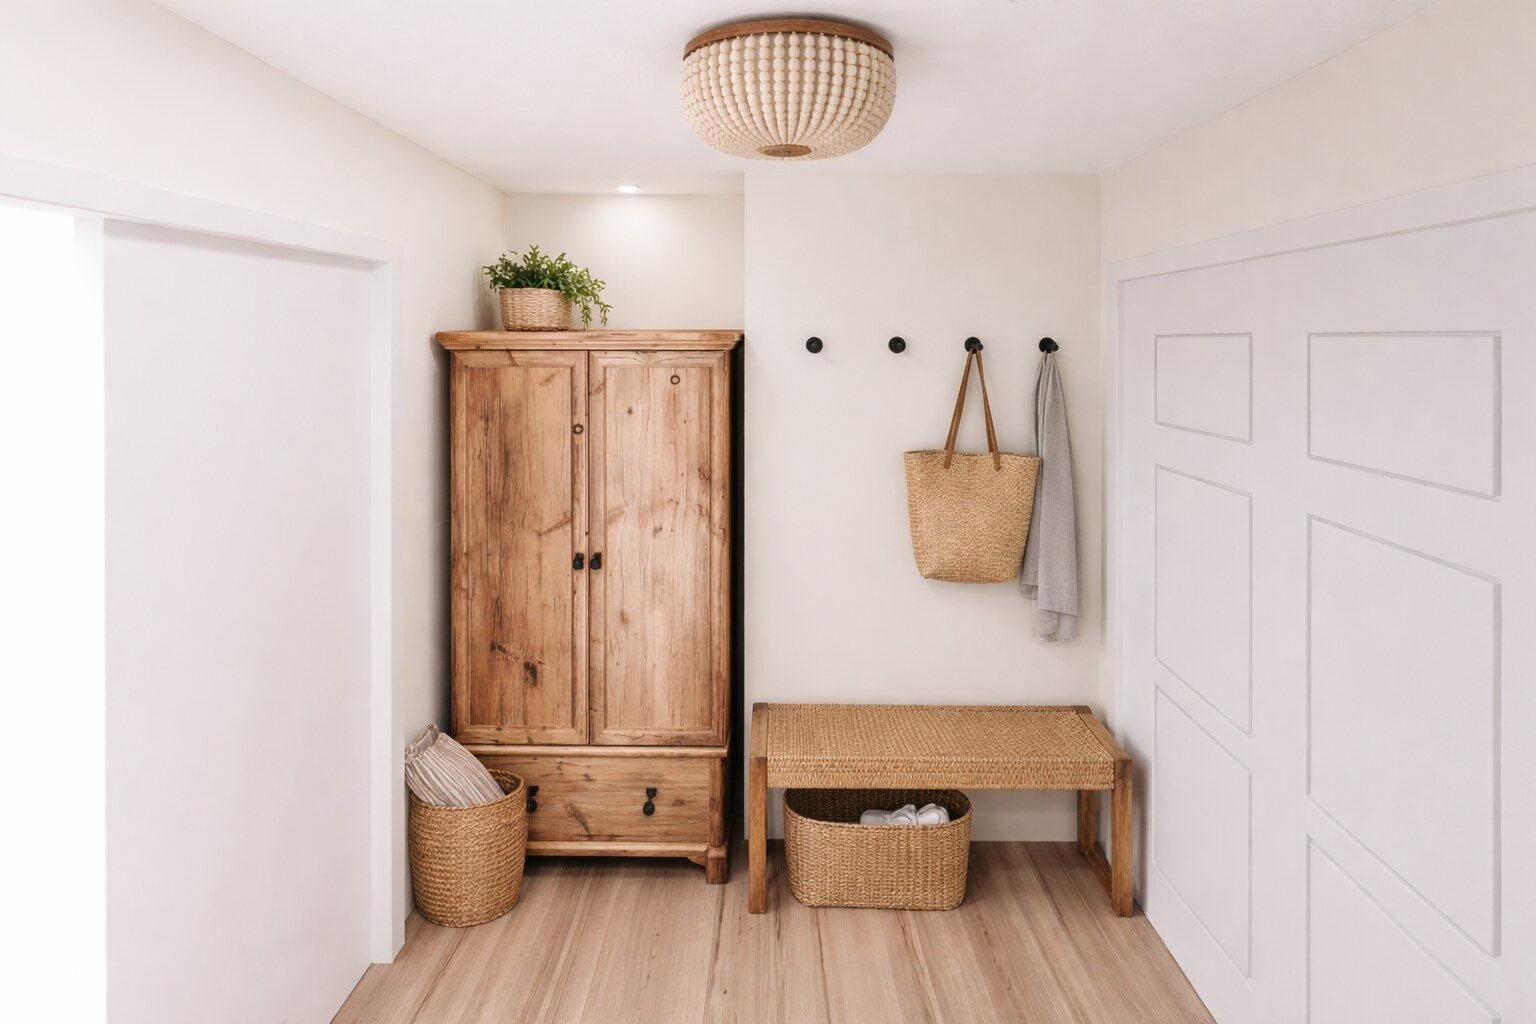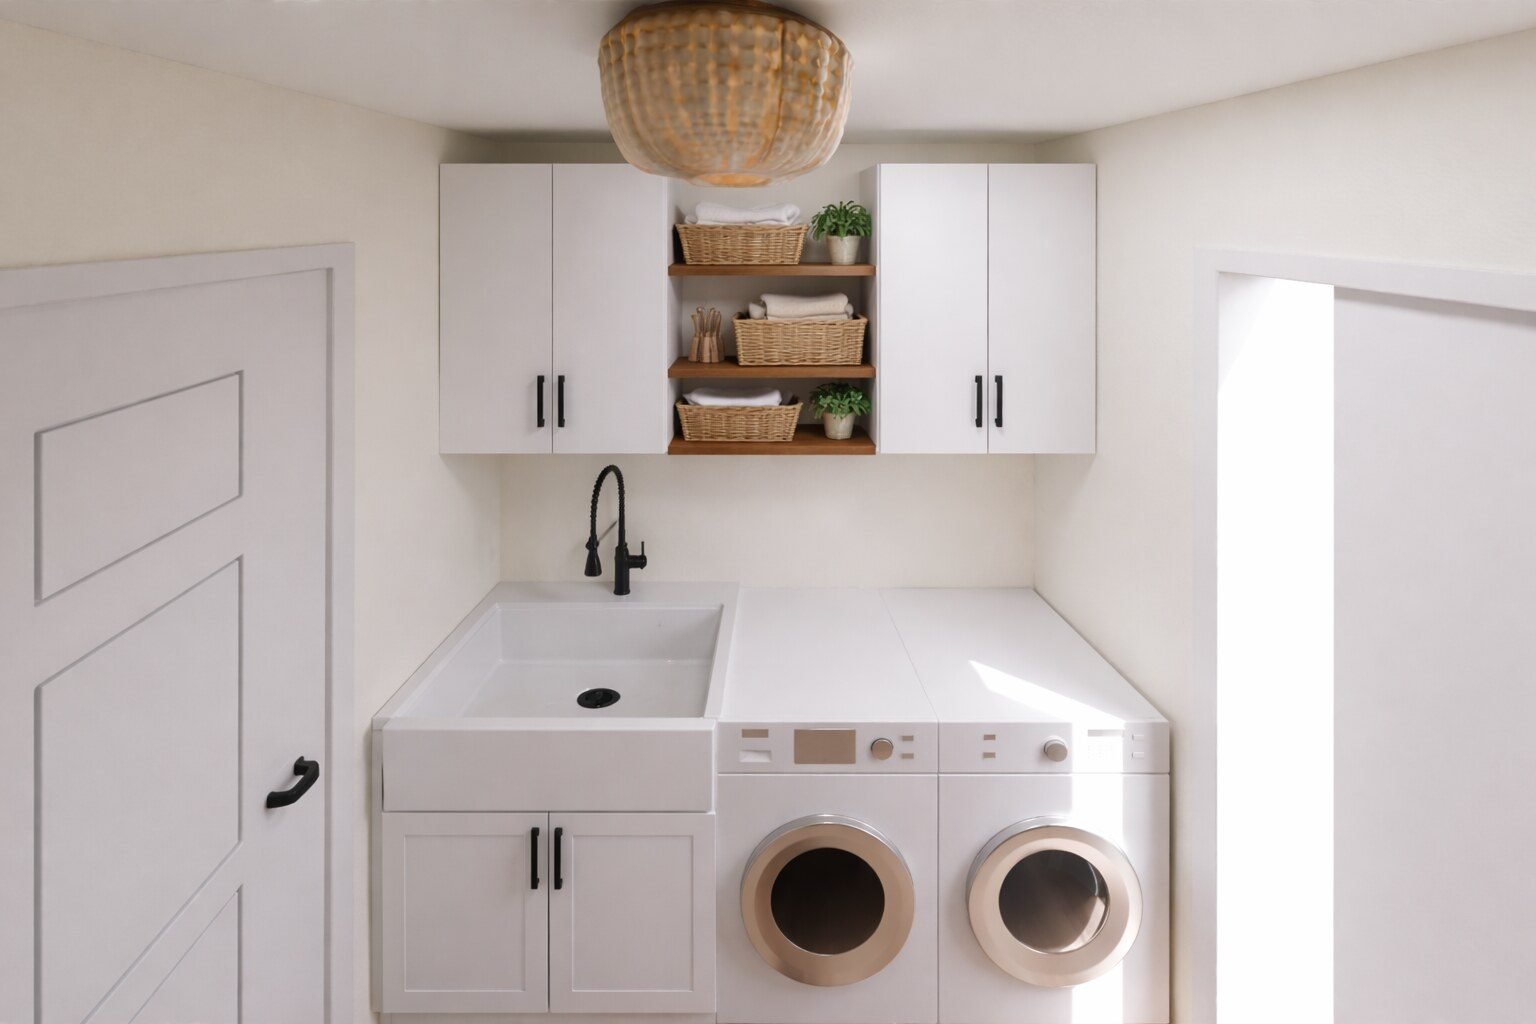

From the first conversation to the day the rug rolls out, here's the process we walk every client through, why each step exists, and what you actually receive at the end.
I'm Christie. I lead the design side at Avenna. My job is to translate how a family lives into a space that actually works for them and looks like something they're proud of when they walk in. I'm sharing our process openly because the biggest barrier to hiring a designer usually isn't the cost. It's not knowing what you're paying for.
Step 1. The conversation
Every project starts with a 30-minute discovery call. It's free, and it's the most important conversation we'll have. I'm not selling a package, I'm trying to understand three things: how the space is used today, what's not working, and what you want it to feel like. Where does morning light come in? Where do you actually drop your keys? Is this a forever home or a five-year home? The answers shape every decision that follows.
Step 2. The mood board
The first deliverable on most projects is a mood board. Not a Pinterest collage, a curated digital document capturing palette, materials, textures, lighting feel, and 3-5 sourced finish samples. This is where most disagreements surface, which is exactly why we do it early. If it feels off, we revise. If it feels right, we go deeper with confidence. The $499 Mood Board package exists because some clients only need this much.
Step 3. Concept and space planning
This is where we draw, floor plans, furniture layouts, lighting placement, cabinetry runs, traffic flow. Less glamorous than the mood board, but it determines whether the finished room actually functions. I draw three versions of every layout. The first is almost never the one we land on.
Step 4. The 3D rendering
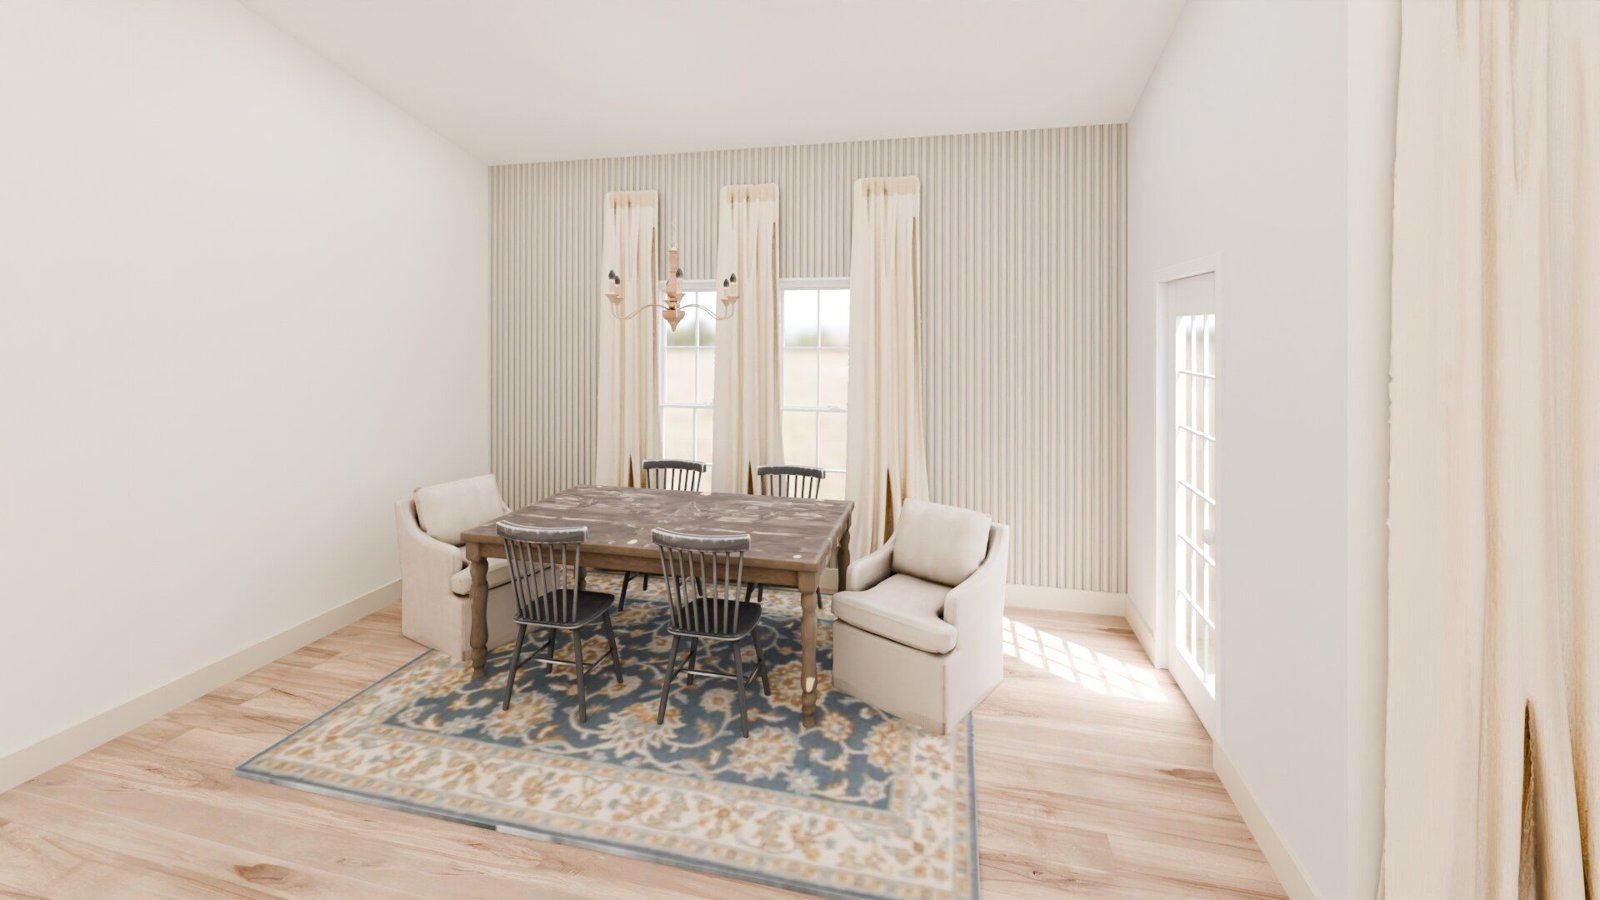
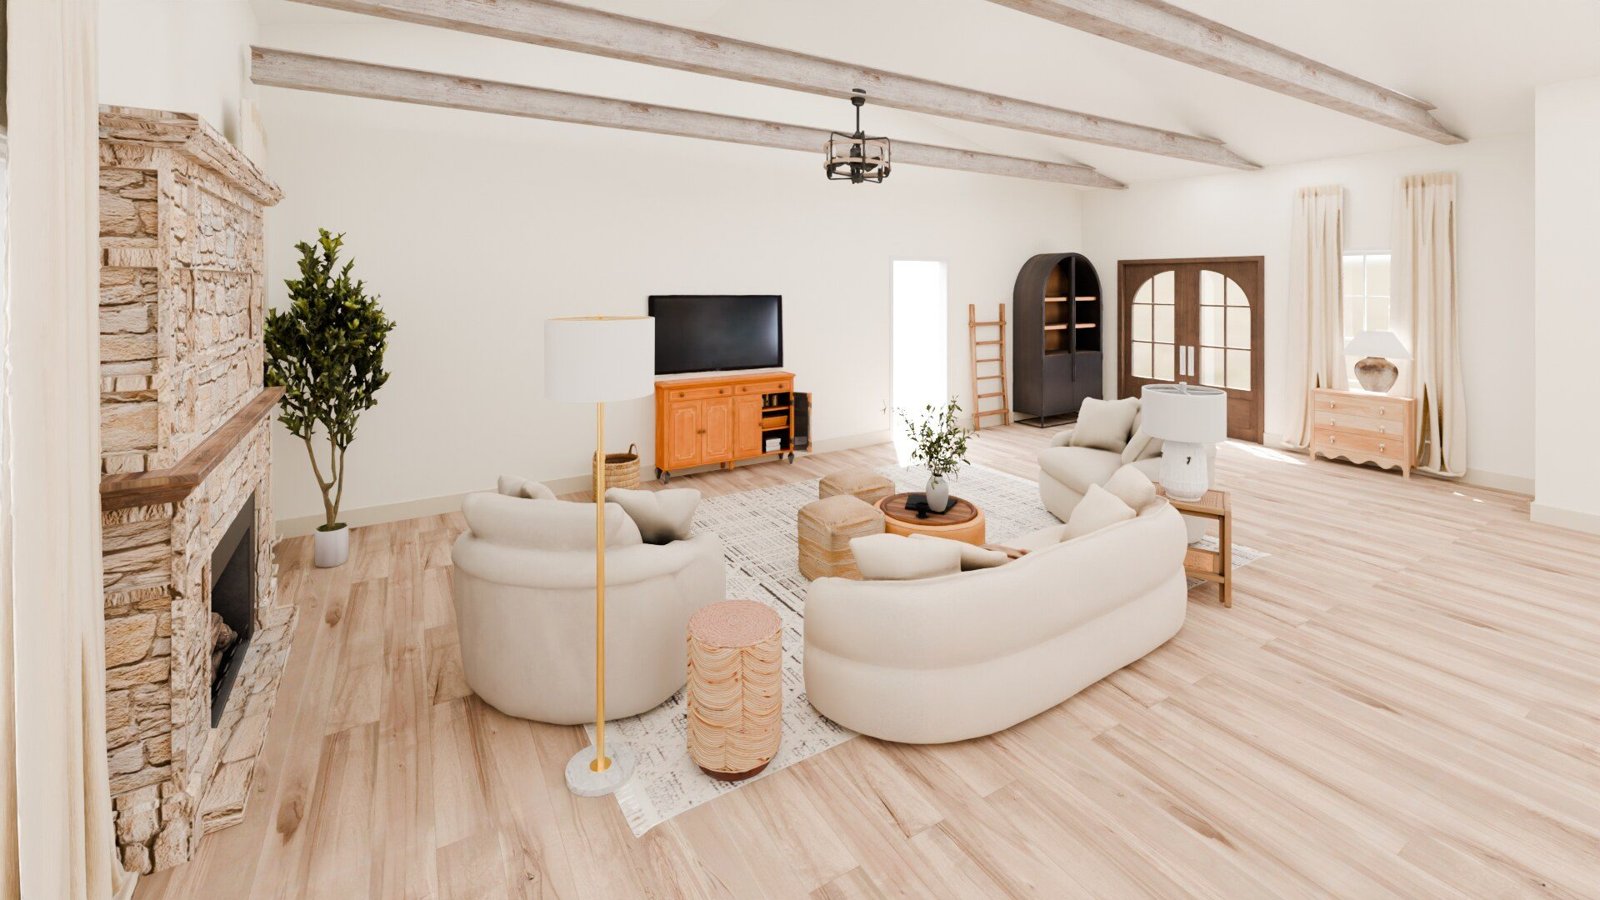
For Full Room and Whole-Home packages, this is where the project becomes real. Photorealistic renderings show the room from multiple angles with the actual furniture and finishes. It's also where we catch problems before they cost money, when a rug is too small, when a chandelier hangs too low, when a wall color reads warmer than the cabinetry. Fixing it in a render is free. Fixing it after installation is not.
Looking at a 3D render of your actual room is the difference between hoping it works and knowing it will.
Step 5. Sourcing and the shopping list
Once the design is approved, every item gets sourced, furniture, lighting, rugs, hardware. You receive a complete spec sheet with direct links, prices, and lead times. For Room Design clients, you execute it yourself. For Full Room and Whole-Home, we handle procurement on your behalf. This is also where I tell you when something is worth the splurge and when it isn't.
Step 6. The install
For Full Room and Whole-Home packages, install day is what we work toward for weeks. The trucks arrive, the team assembles, and the room goes from empty to finished in one day. Seeing it actually happen, in your actual room, with your actual light, never gets old.
Why we package the work
Most designers charge hourly, and you can't budget for hourly. We charge by the package because we know how long each scope takes. You see the price before you commit, and the price doesn't change. And if you build with us after a design package, we credit the package fee against the renovation, so designing with us is genuinely risk-free.
If you've been thinking about this and weren't sure what you were paying for, I hope this helps. See the packages or book a discovery call.